Sunday, December 30, 2007

Easy to make protein waffles

This simple receipe of protein waffles was made while experimenting in the kitchen. You should be able to make ~8 waffles.


Ingredients:

  • 2 Eggs
  • 3 table spoons Splenda
  • 80 g/2.4 dl neutral taste protein powder (I use a blend of whey, casein and egg)
  • 5 dl water
  • 5 table spoons spelt flour
  • 1 tea spoon baking powder
  • 2 table spoons healthy oil

Instructions:
Mix eggs and splenda. Make a shake of protein powder and all the water. You should not use flavored protein as it contains aspartame which should not be heated. Mix the shake with the egg mix. Add flour, baking powder and oil. Keep it in the fridge until beeing used after mixing the ingredients well. Cook it in the waffle iron. Stirred berries (strawberries, raspberries etc) and splenda makes a perfect combo.

Impressions afterwards:
The waffles taste ok, but can be improved. They are lacking a bit of fullness due to low fat content. I think the fullness fill improve if using skimmed milk instead of water and/or using wheat instead of spelt.

Friday, December 21, 2007

Simple ice lanterns in 5 steps

These ice lanterns were inspired by ideas found on instructables.com. The instructions found were how to make ice balls and how to make battery powered LED ice lanterns. I thought it would be an idea to make a low tech version of the LED lantern.

Here are the instructions:
1. Fill ordinary balloons with water from the sink. Fill to a safe size.
2. Put the balloons in the freezer for at least four hours until fully frozen. Make sure as few as possible objects deform the balloons while freezing.
3. Use a drill with a hole saw to mark the outline of where you want to put a tea light candle.
4. Make the hole deeper by using a knife and carving the ice from the hole. You have to make sure the candle wick will be below the top of the hole to make the lantern shimmer and to shelter the fire.
5. Put a tea light candle within the hole and light it.

That's it - enjoy the beautiful light in these dark days.
Posted by Picasa

Monday, November 19, 2007

How to set up MouseClick and MouseDoubleClick in 6 steps (C# / Visual Studio 2005)

Do you want to add clicking and double clicking to the same button in C#? This is the only way I have found that works:

  1. Start by adding an integer variable to set the status for the mouse and initialize to zero (clickStatus)
  2. Drag a timer to the form to monitor how much time have elapsed between mouse clicks (timer1). Set “Enabled” property to “false”.
  3. Set the timer interval to the system doubleclick time (timer1.Interval=SystemInformation.DoubleClickTime)
  4. Add a Click event to the form or whatever you want to check the clickstatus of.
  5. Add the Click event to the Tick event of timer1
  6. Add additional code as shown below:

    namespace WindowsApplication3
    {
    public partial class Form1 : Form
    {
    private int clickStatus=0; //0=not clicked, 1=single clicked, 2=double clicked

    public Form1()
    {
    InitializeComponent();
    timer1.Interval = SystemInformation.DoubleClickTime;
    }
    private void Form1_MouseDoubleClick(object sender, MouseEventArgs e)
    {
    clickStatus = 2;
    }
    private void Form1_MouseClick(object sender, MouseEventArgs e)
    {
    clickStatus = 1;
    timer1.Enabled = true;
    }
    private void Form1_Click(object sender, EventArgs e)
    {
    timer1.Enabled = false;
    if (clickStatus==2)
    {
    //MessageBox.Show("Double clicked");
    clickStatus = 0;
    }
    else if (clickStatus==1)
    {
    //MessageBox.Show("Single clicked");
    clickStatus = 0;
    }
    }
    }
    }

    The click events are called in the following order: Click – MouseClick – MouseDoubleClick, but MouseDoubleClick will not be raised if a MouseClick is raised. The trick is to use the timer. When a single click is made then the following events will be raised: Click – MouseClick – Click. When a double click Is made the following events will be raised: Click – MouseClick – MouseDoubleClick – Click. Make sure to add the same events to other components that you want to have similar behaviour (labels, boxes etc).

Tuesday, June 26, 2007

Electrolytic rust removal

Recently I have been experiencing problems with rust on my cars. I looked around on the internet and found an easy, but very effective method for rust removal. The method utilizes electrolysis and compared to other methods it's superb as it doesn't remove any base material. The only limitations for the method is that the part could be disassembled and that you have a tub with sufficient volume where you could submerge it.

You need a couple of ingredients for the method:
1. Caustic soda or crystal soda - 10g per liter, for the electrolytic bath
2. An iron or steel with low alloy content, as electrode
3. A plastic or plastic covered tub
4. Water
5. A variable current source. You could use a battery or an old car charger, but it's necessary to alter the current by adding extra resistors like a car bulb
6. Wires
7. A part that is rusted (duh)

I got asked by a colleague if I could try the method on a part for a cam shaft that he accidently had left on the floor of his leaking car. This is how the part looked before the rust removal:


The process creates hydrogen. As hydrogen is explosive with oxygen I found it safest to work outdoors.

I used caustic soda as it was impossible to obtain crystal soda. I read that others were using crystal soda, but that it should be safe to use caustic soda for the bath. Water was first filled, caustic soda was later weighed and added 10g per liter.

I used an old model train current source, but needed to rectify the voltage as it was AC, not DC as needed. The positive wire was connected to the sacrificial iron electrode and the negative wire was connected to the part that I wanted to remove rust from. The process starts faster if the wire has contact with base metal. The wire(s) to the sacrificial electrode(s) should not be submerged as it would destroy it/them. If the object is large you should surround it with several electrodes. This is my setup:


The current was adjusted to the lowest possible value as a medium sized object (dependent on the surface) needs approximately 200mA. I had ~170mA for what I consider a small object. It's not crucial that the current is low, but a fast process is supposed to make a non optimal result. You notice the start of the transformation by small hydrogen bubbles appearing on the surface of the part. I left the part for approximately one day in the tub, but you could keep it there forever if you wanted. After removal I rinse the part in water with a tooth brush, scrape off excess rust with a knife, remove water by rubbing it with paint thinner and cover it in oil. This is the result of the process (some rust are still seen on the picture, but this was easily removed with a small knife). I would highly recommend the method to others.


Thursday, August 17, 2006

Trening og ernæring

Siden nyttår har det vært lite aktivitet på denne sida. Det har den naturlige årsaken at jeg har blitt svært glad i min kjære Sunniva og har nytt å tilbringe tiden sammen med henne. Selv om jeg har vært opptatt av ernæring tidligere, har det aldri vært så lett og naturlig å leve sunt og godt som akkurat nå. Hun har mange av de samme holdningene som meg når det gjelder trening og ernæring allikevel er vi ikke helt nazi.

hverdagskosthold:
Typisk frokost: AXA godag energi, gresskarfrø, biola naturell og blåbær
Typisk lunch: fiberknekkis med diverse kjøttpålegg
Typisk middag: krydret kjøtt/fisk med masse grønnsaker eller salat
I tillegg til dette spiser jeg mellommåltider med frukt og proteinshaker (melkeprotein).
På treningsdager supplerer jeg treningen med en shake raske proteiner (whey) og druesukker

Jeg har hatt perioder hvor jeg har vært opptatt i å få i meg nok proteiner, men er først nå innstilt på å fortsette med høyt proteininntak. Jeg har lett etter en leverandører av kosttilskudd til fornuftige priser i Trondheim. Jeg har funnet ut at "norwhey" (whey) på kaliber gym og "tn Isolate 90" (melkeprotein) på flex gym gir meg mest for pengene og dekker de ulike behovene. Druesukker kjøper jeg foreløpig i poser på ica.

trening:
Jeg trener typisk mandag, onsdag og fredag for å få nødvendig restitusjon mellom øktene. Etter anbefaling fra Chad Waterbury (T-nation) kjører jeg økter med volum på minimum 24 per økt. Siden sentralnervesystemet er fresht etter helga på mandager bruker jeg 5x5 denne dagen. Tilsvarende på onsdager og fredager bruker jeg 3x8 og 2x12. Alle øktene er basert på trening for hele kroppen og kjører typisk 2xben og 2xoverkropp (antagonist). Jeg benytter de samme øvelsene hver uke, men roterer de slik at on->ma, fre->on og ma->fre. På denne måten får jeg variasjon i repetisjoner for hver øvelse.

typisk program:
mandag (5x5): benpress, glute ham raises
bred benkpress+flies, stående roing
onsdag (3x8): (sumo) markløft, good mornings
db skråbenk, chinups/pullups
fredag (2x12): Knebøy, stivbent markløft
benkpress, kabelroing
I tillegg supplerer jeg med øvelser for muskler som henger etter

Sunday, December 18, 2005

Diving in Phuket

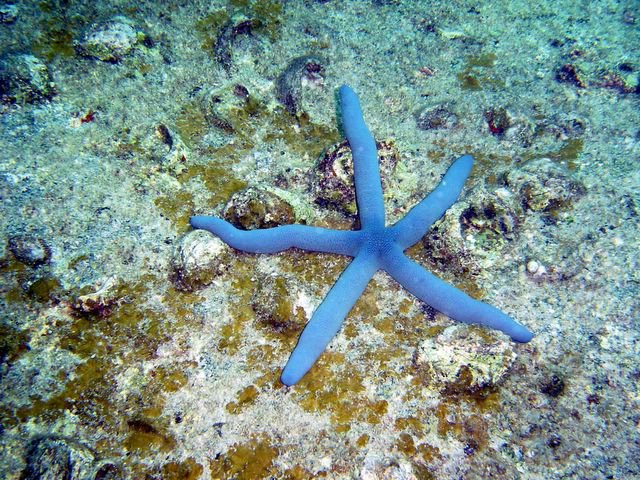
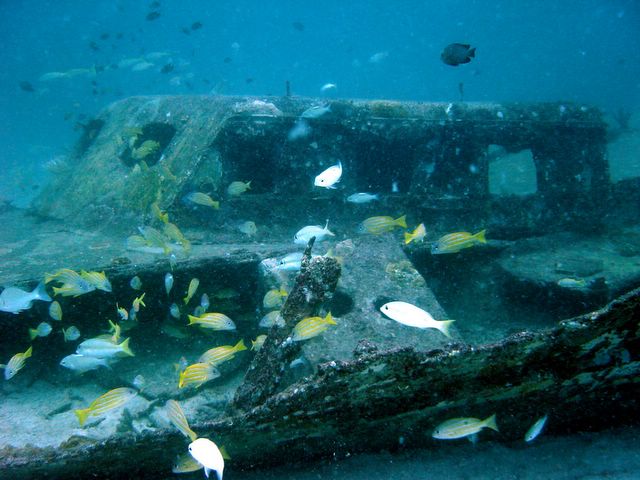
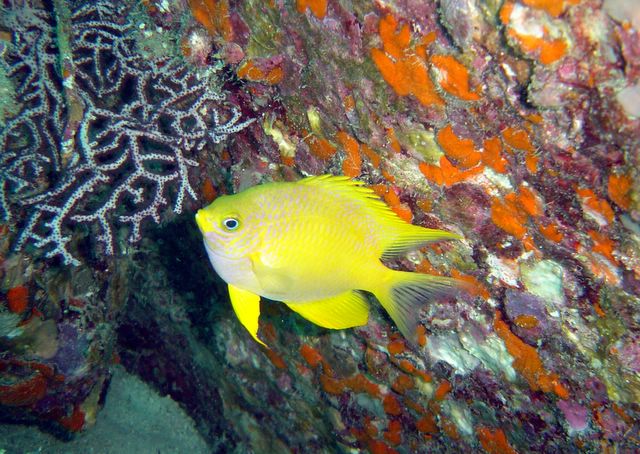
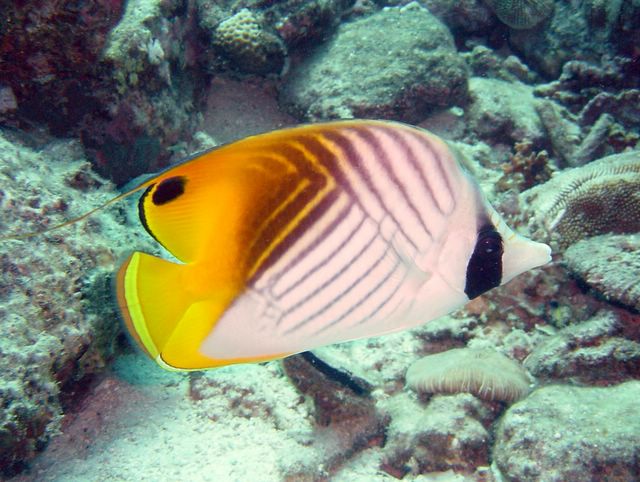
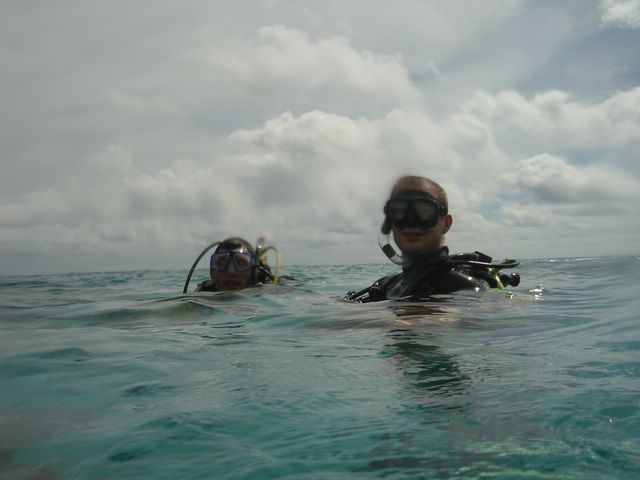
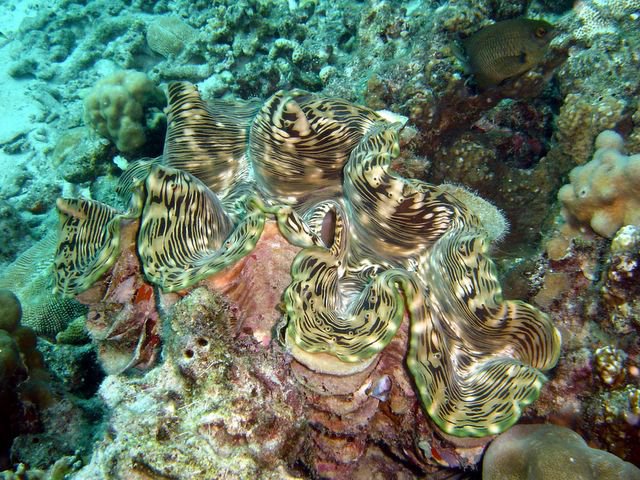
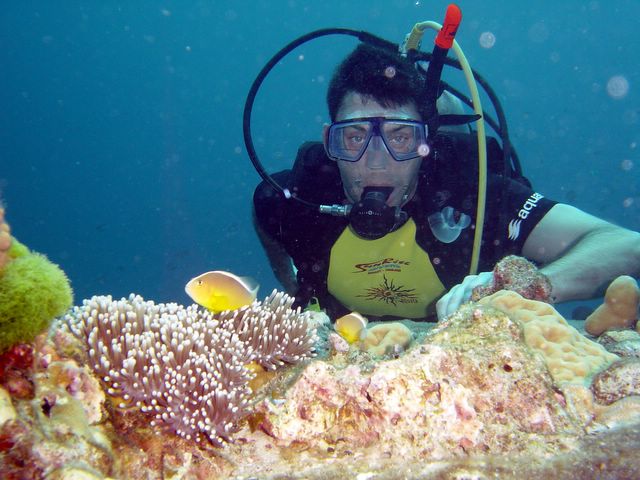
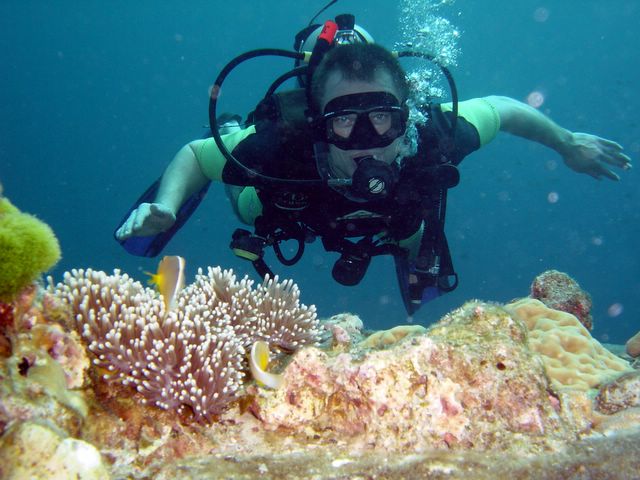
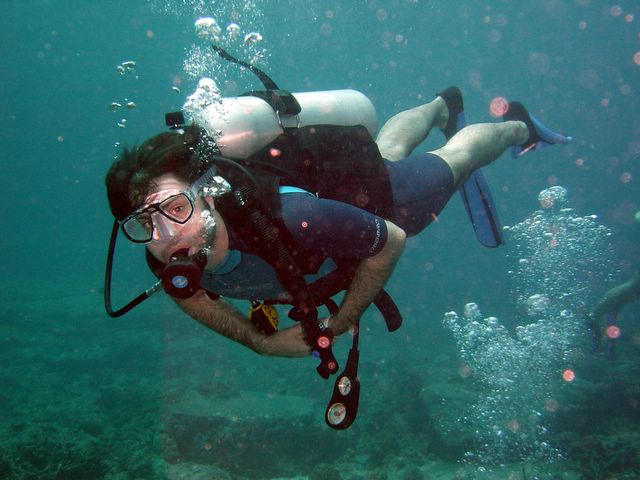
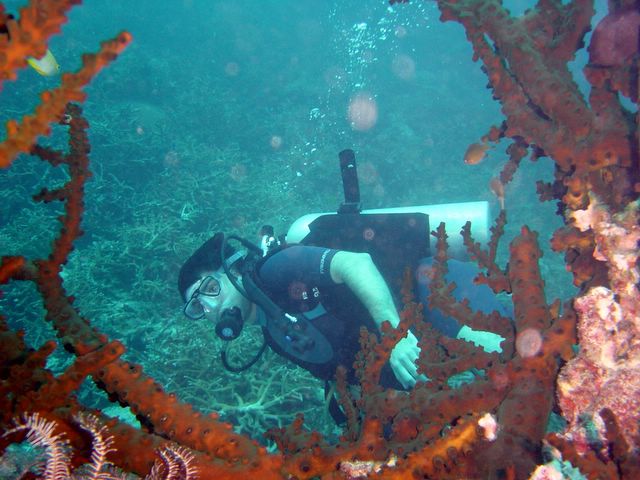
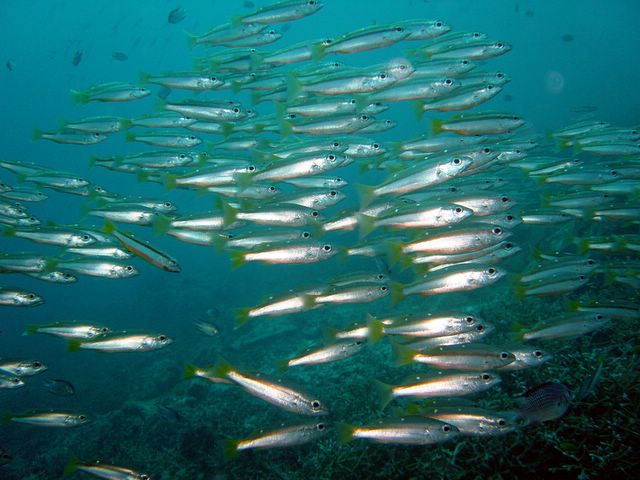
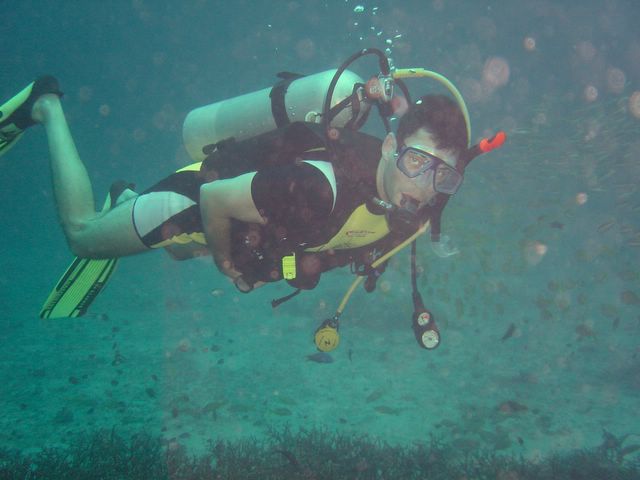
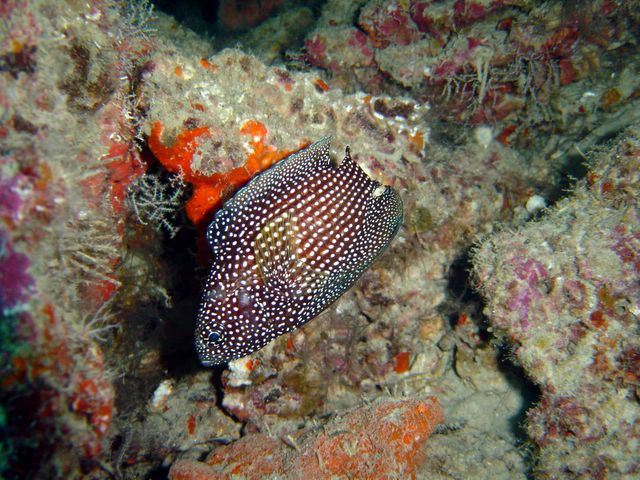
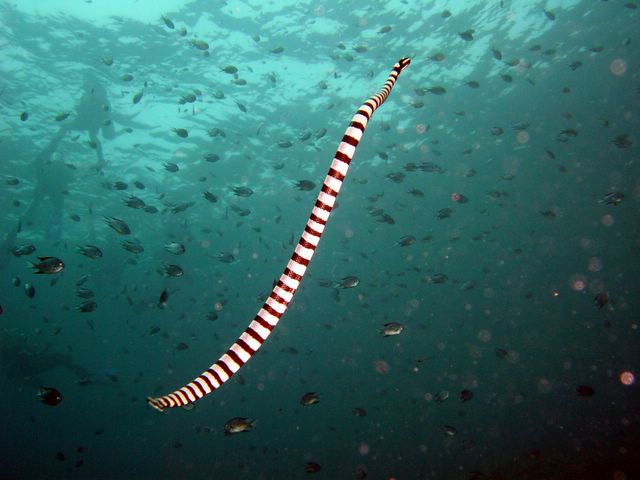
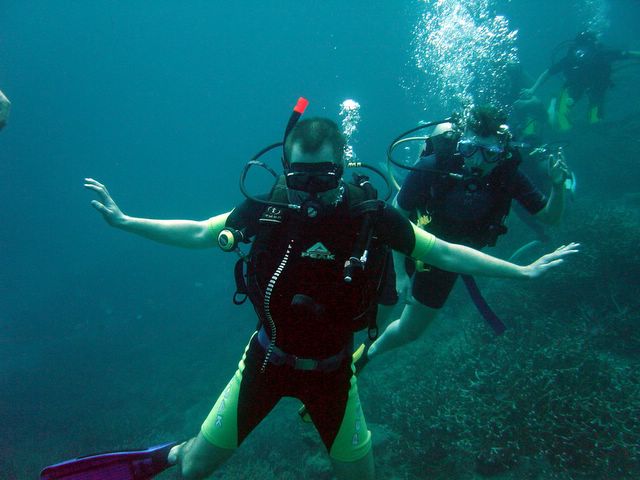
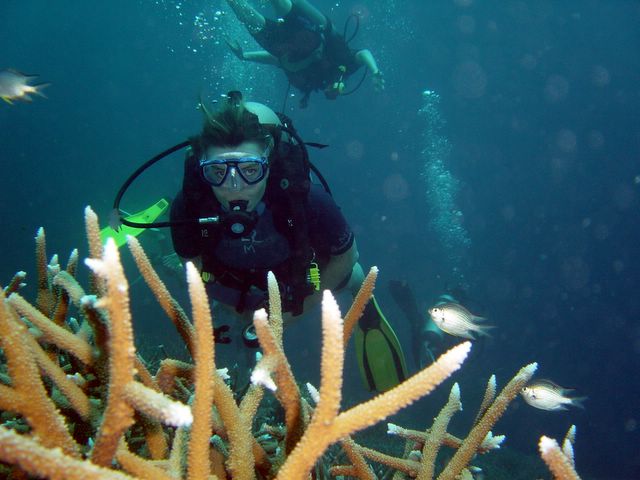
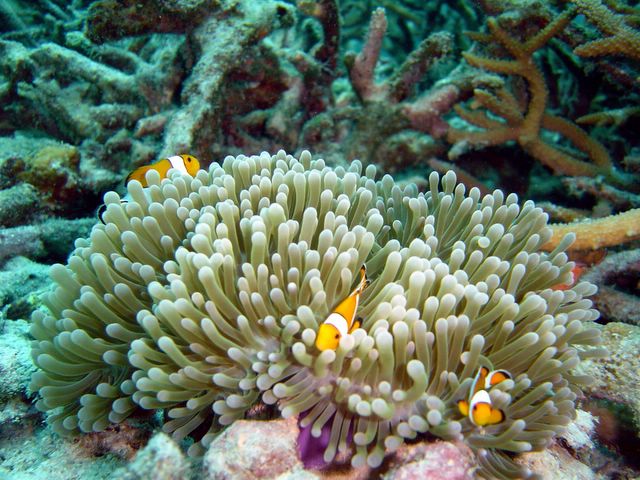
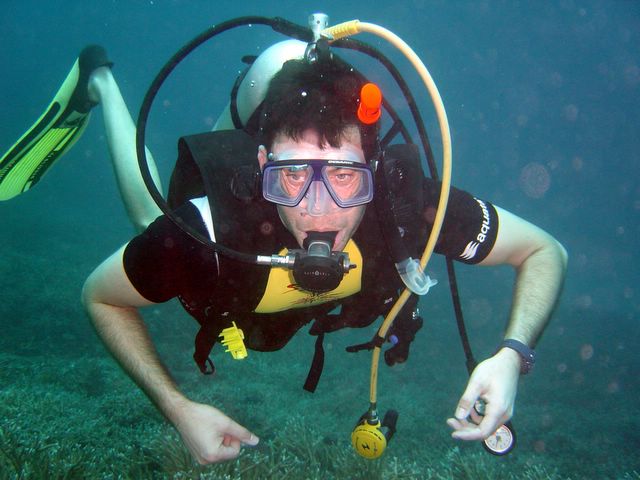
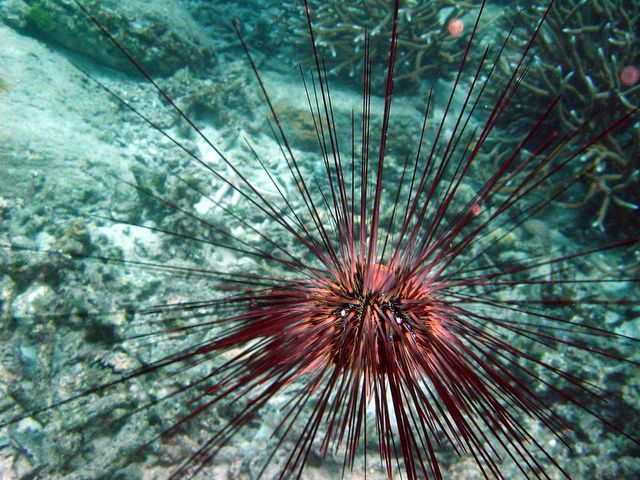
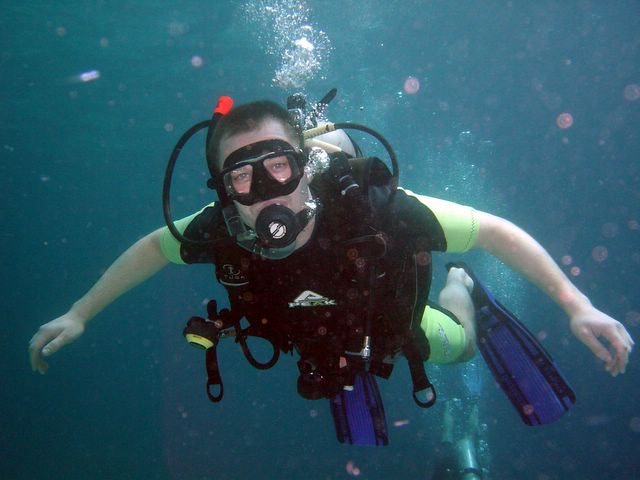
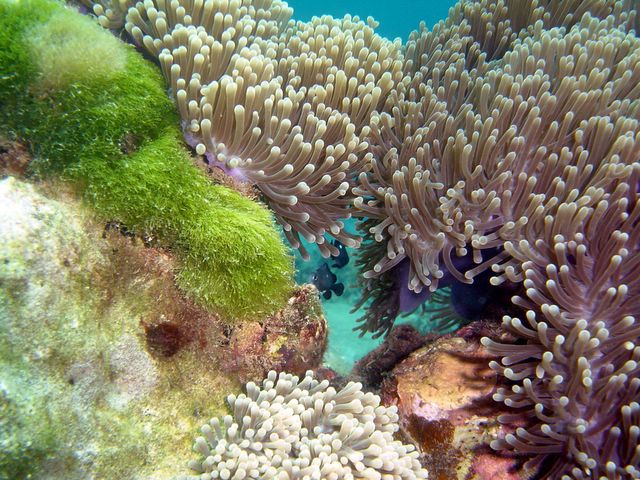
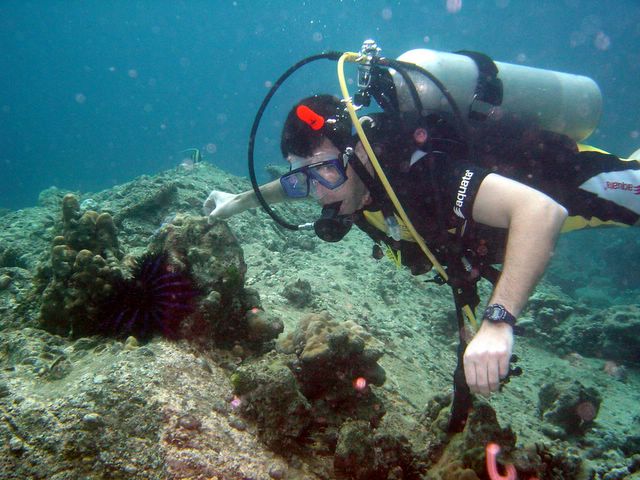
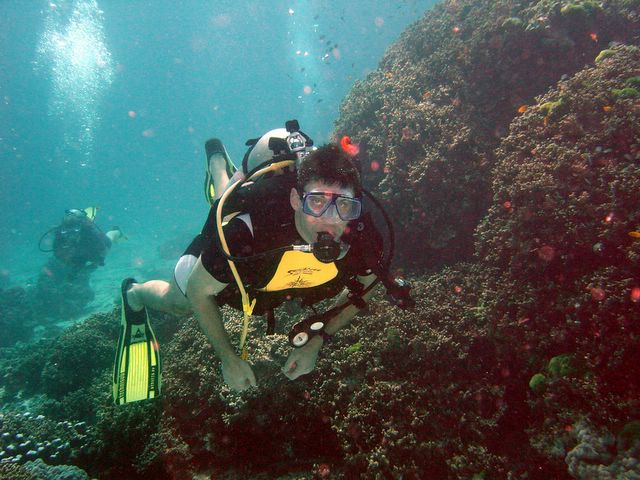
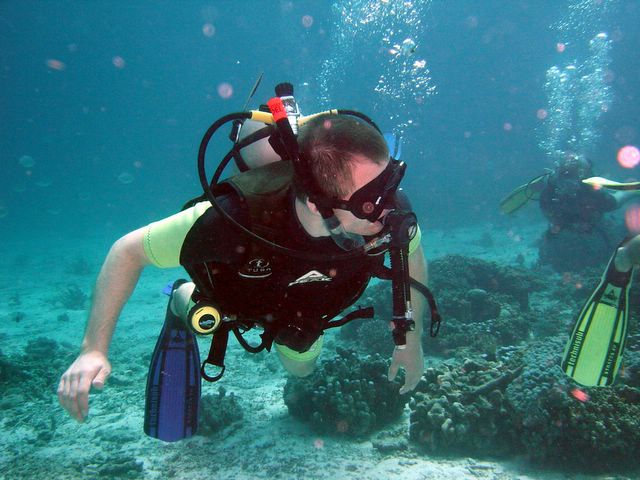
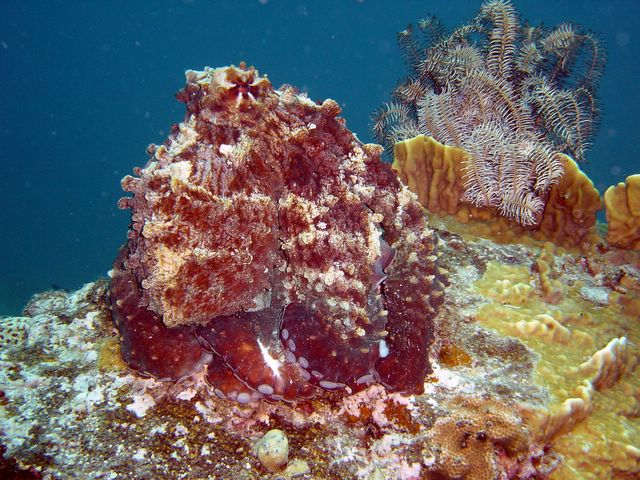
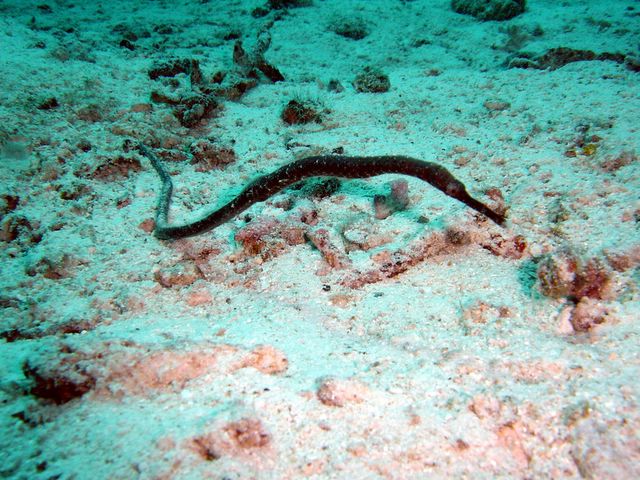
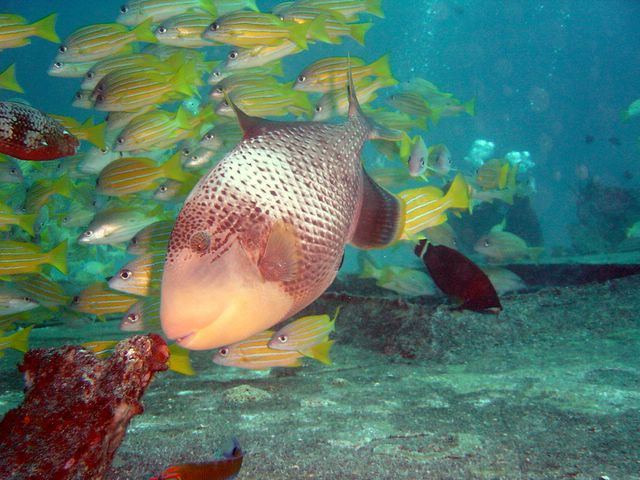
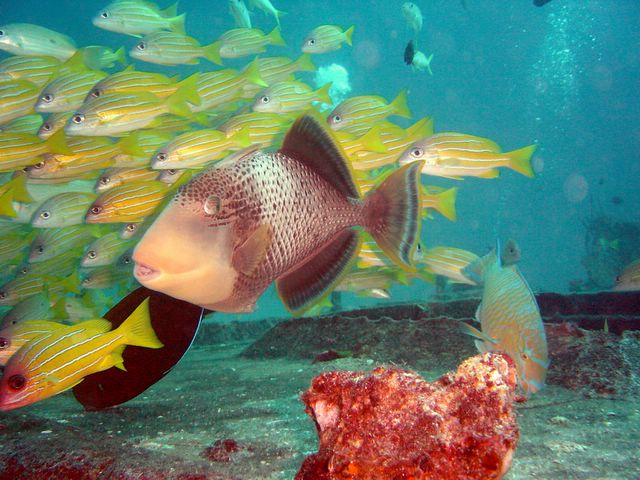
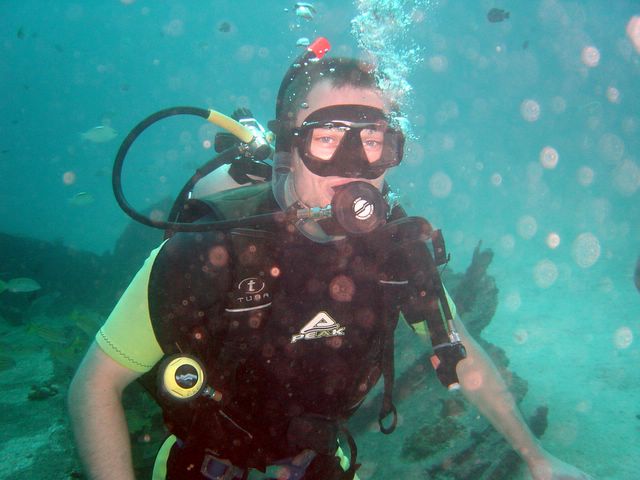
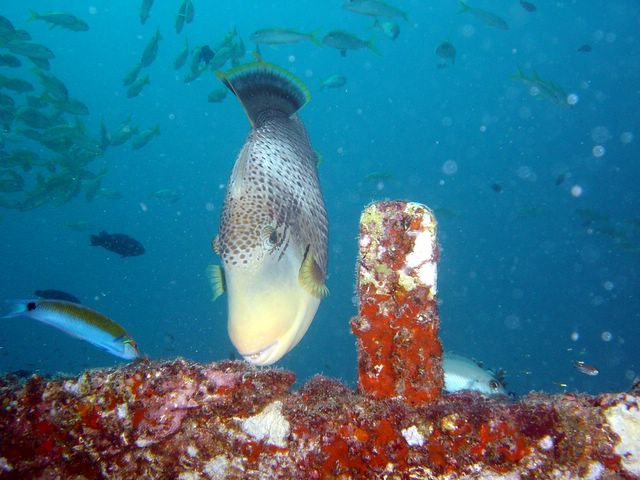
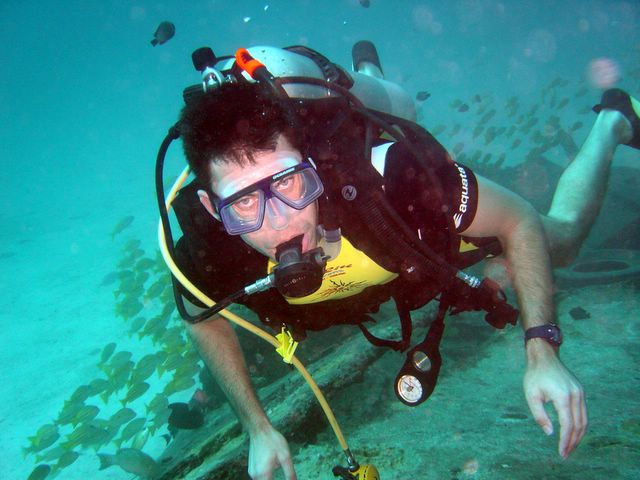
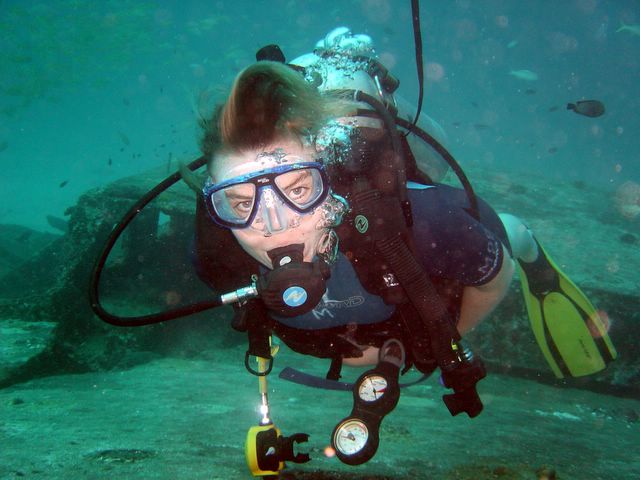
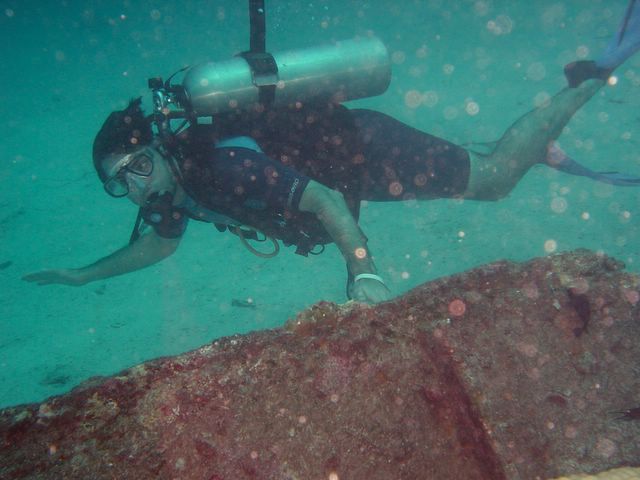
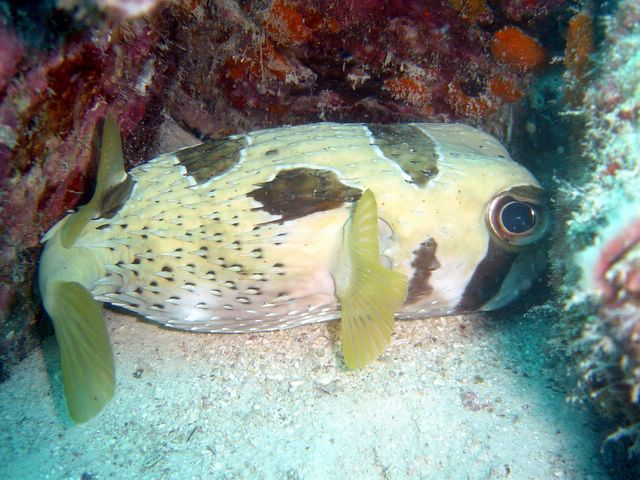
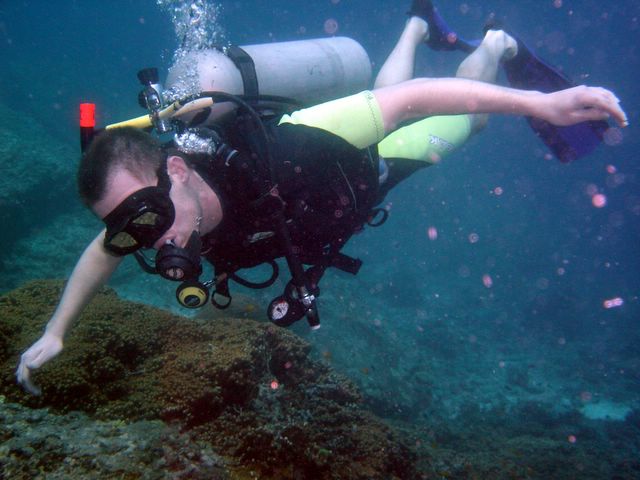
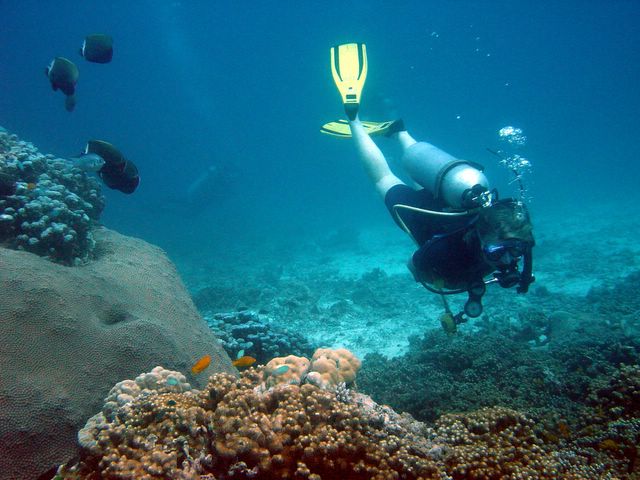
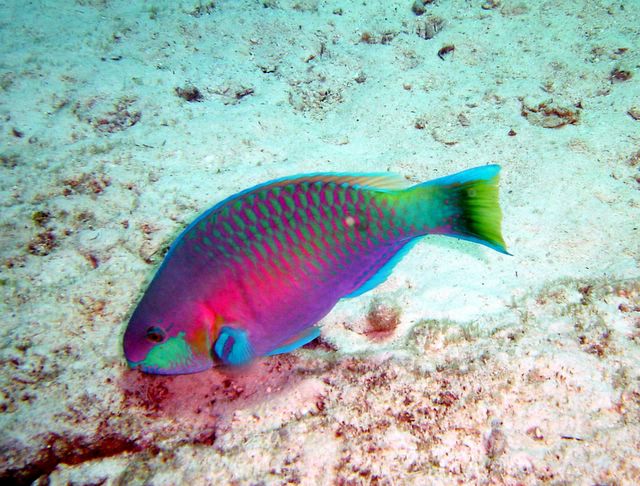
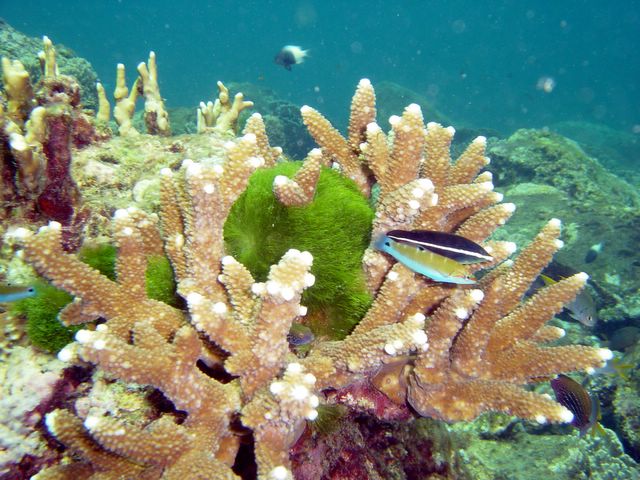
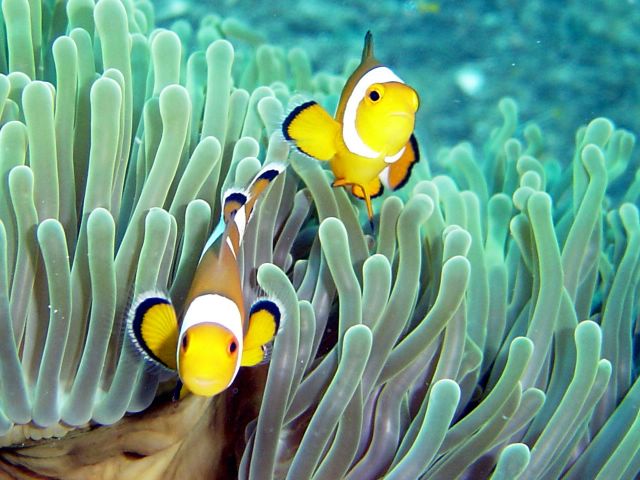
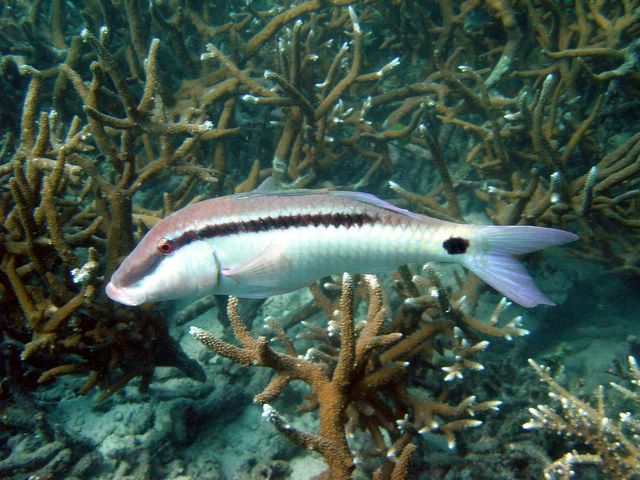
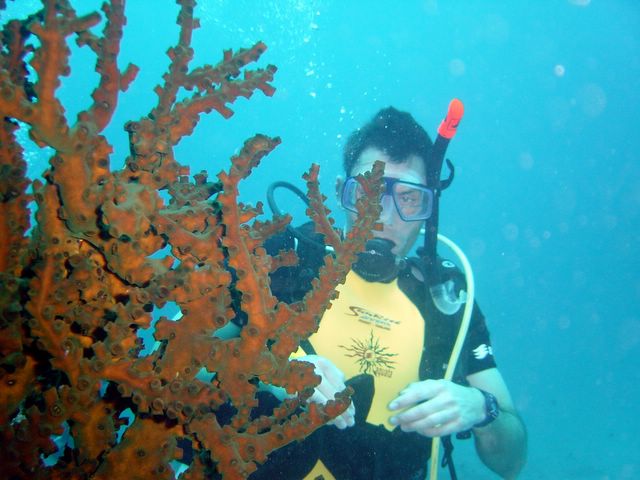
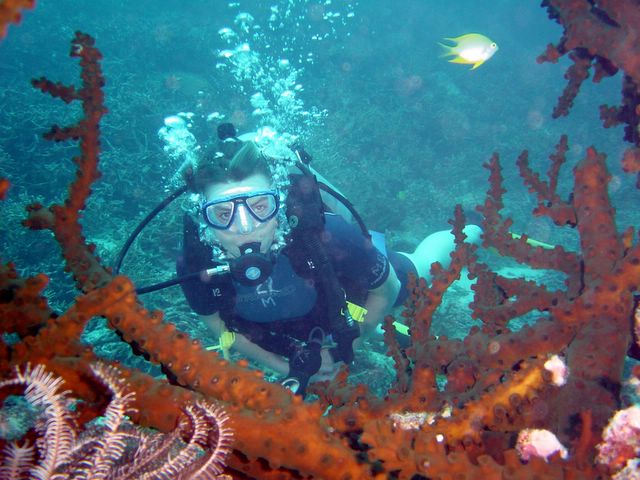
I went diving for three days near Phuket. My first dive was a scuba tune up at Kata Beach since it has been four years since my last dive. The other dives were to the south (Ko Racha Yai) and east (Ko Doc Mai) of Phuket and split into to daytrips with boat. They went to Ko Racha Yai (2), King Cruiser Wreck, Anemone Reef and Ko Doc Mai.

The pictures were taken by the divemaster on the dives near Ko Racha Yai. We got to see plenty of different species. Some of them: sea turtle, leopard shark, clown fish (nemos), lionfish, blue spotted stingrays, sea snakes, barracudas, murays, sea horses, shrimps, octopuses, squids and plenty of other corals, fish and other animals that I don't know the name of. A great booster for further diving.


Posted by Picasa